Jars: a makeover story
I found this post on Ohdeeoh, by Apartment Therapy, and was inspired to make my own animal topped jars. The mess of colored pencils I had all over our dining room/only room table was screaming for a creative storage solution. I love being able to see all the lovely pencil colors, but I really needed the real estate for other projects. This project was a perfect compromise.
1. Start with some mason jars, any size. I went for extra large.
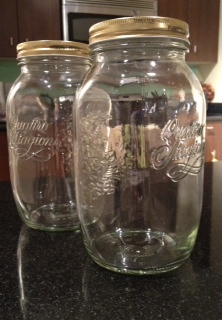
If your jars have separate lid sides and cover plates- this is common with canning jars- superglue the lid plate and lid ring together.

2. Check out your local toy store for a tube of small plastic animals, I went for the woodland variety.

3. Superglue the feet of your animals to the tops of the jars. Make sure to hold the animals down for about 30 seconds, then let the glue dry for about ten minutes.
 4. Mix your acrylic paint colors and start your first coats. I ended up putting on about two coats, three with more translucent colors. You can place your lid to dry on a drinking glass, or the top of the jar.

Make sure you get all the tiny spaces underneath the animal! A tiny brush can be useful.


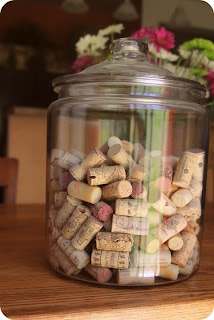
5. Fill your jars! These can be a great alternative to a box when gift giving! Stuff some warm mittens in there, or fill up with delicious sweets! Add a bow or darling little label or tag!
Materials needed:
Jars
Superglue (hot glue may work, but will not be durable)
Acrylic paint
Paint brushes
Plastic animals
1. Start with some mason jars, any size. I went for extra large.
If your jars have separate lid sides and cover plates- this is common with canning jars- superglue the lid plate and lid ring together.
2. Check out your local toy store for a tube of small plastic animals, I went for the woodland variety.
3. Superglue the feet of your animals to the tops of the jars. Make sure to hold the animals down for about 30 seconds, then let the glue dry for about ten minutes.
Make sure you get all the tiny spaces underneath the animal! A tiny brush can be useful.
5. Fill your jars! These can be a great alternative to a box when gift giving! Stuff some warm mittens in there, or fill up with delicious sweets! Add a bow or darling little label or tag!

Comments
Post a Comment